Category: Epoxy Resin
DIY River Table with Epoxy Resin
Here at Creative Resins, we are often asked what it takes to create a mesmerizing epoxy resin table. More precisely, how much effort is involved in making a table that customers would not think twice before buying? Most furniture manufacturers want to put up such tables for sale. However, they aren’t privy to the materials and procedures needed to make a tough and beautiful epoxy river resin table.
That is what we want to change with the help of this article. We will walk you through the entire process and even recommend products from Creative Resins that will assist you in your manufacturing endeavors.
So, without much further ado, let’s first understand what epoxy river resin tables actually are.
What are Epoxy River Resin Tables?
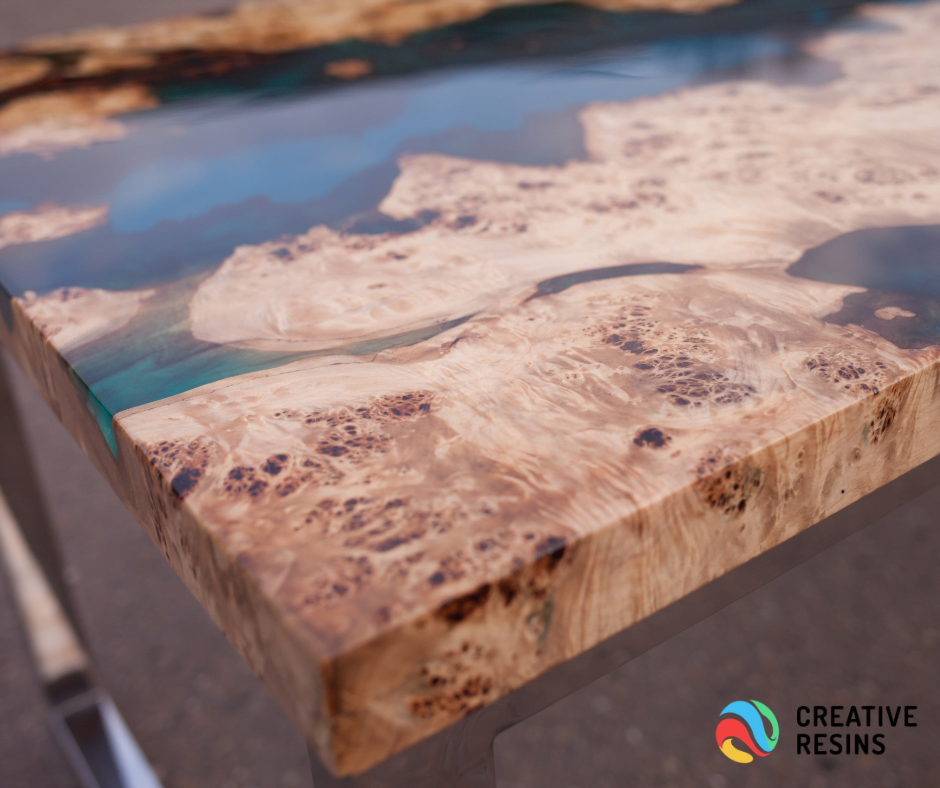
An epoxy river resin table is a hybrid table made of wooden planks with epoxy resin in the middle. The epoxy resin in the center of the table gives the appearance of a flowing river. Epoxy river resins tables have been quite popular ever since 2019. Originally conceptualized in the United States, the popularity of epoxy resin tables has spread like wildfire across the globe. The tables are high-quality and radiate unparalleled beauty, which is precisely why they are in high demand today when it comes to furniture décor.
What Epoxy Resin to use for River Table?
The epoxy resin is the most integral ingredient that goes into making a river resin table. Preferably, you should go with an epoxy resin that exhibits low viscosity. It should be fluid enough to easily pour into the mold.
As such, we at Creative Resins have just the product you need.
The Clear Cast 50 is an exceptionally clear casting resin that is ideal for application on a variety of surfaces to achieve a visually stunning look. It is extremely transparent in nature, and is not at all prone to ‘Yellowing’. This Clear cast resin can be cast up to 50mm thick in a single application. The resin can also be machined and processed and polished to accomplish a glass-like finish.
This is a two-component Clear Cast Epoxy resin, which possesses medium viscosity, good pot life, and extreme transparency. As such, it can cast up to 50mm thick in a single pour while also exhibiting good degassing properties, even with maximum thickness. It also benefits considerably from being lightweight with virtually no shrinkage and is non-yellowing.
The resin exhibits excellent adhesion to most substrates, especially for glass, metals, and wood. It can also be used to create worktops and tabletops. It is especially good for producing ‘River Resin’ tables and for general casting where exceptional transparency is required. A wide range of colors including transparent tints and decorative effect fillers can be added to create limitless decorative objects.
Steps to Create an Epoxy River Resin Table
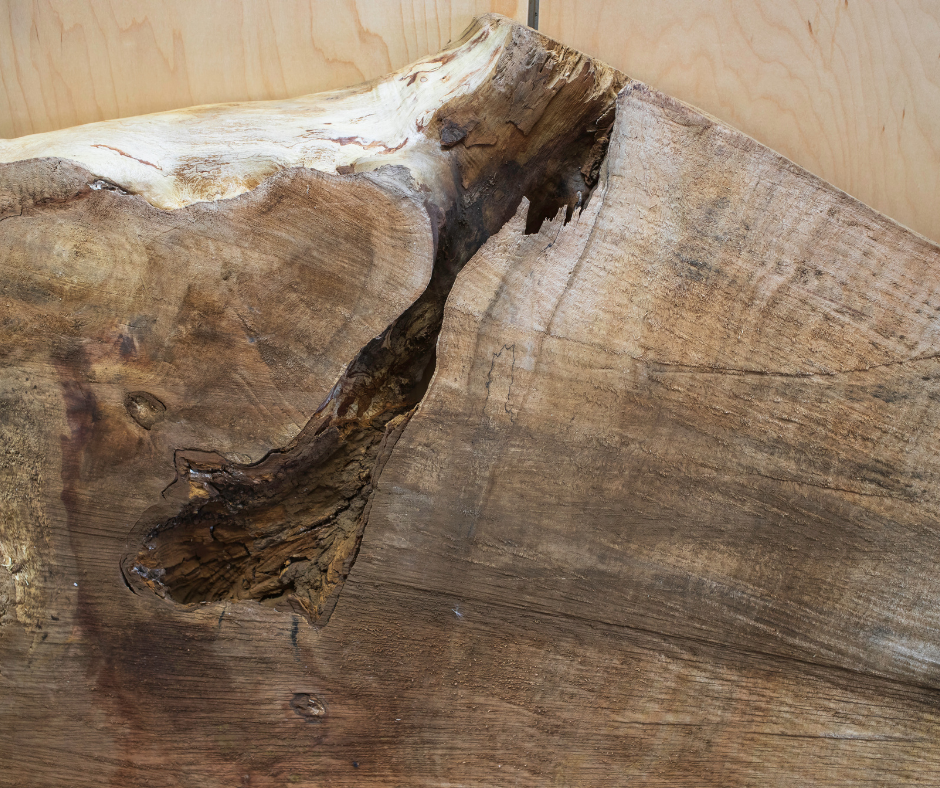
Step 1: Cutting Wood.

Take your wood and cut the live edge slab in half. Make sure to measure the mold size you desire so the slab can fit. Now, using a ½” sheet of melamine, HDPE, or MDF, cut the material according to the measurements you deem appropriate for your river resin table.
2. Make the Mold

Purchase sheathing tapes, which can be found in any local hardware store. Apply this tape onto the inside of your mold. Make sure that all sides of your mold are taped to prevent epoxy to bond with the mold. Now take a power drill and attach all 4 borders of the mold to the base. Use a 1” screw to accomplish this. Once your mold is secured, proceed to apply silicone to the seams and corners, thus leaving no room for the epoxy to leak out of the mold.
3. Apply Epoxy Sealer

With the mold taken care of, proceed to apply a penetrating epoxy sealer. The sealer will create a barrier that prevents the formation of bubbles and foaming when epoxy comes in contact with the wood. We recommend, propping up all sides of your wood with plastic cups to make sure the epoxied slab does not get stuck to your workspace. Let the penetrating epoxy cure overnight.
4. Sanding the Slab
Once the epoxy has cured, proceed to sand down all edges of your slab. Your goal while sanding should be to make sure that the top, side, and bottom of your tabletop are flat while the live edge is scuffed slightly. Make sure no sanding debris remains on the wood slab before it is placed into the mold.
5. Placing the Slab in Mold

Carefully place the slab in your mold. At this stage, you would want to add color but make sure you aren’t adding so much that it ends up obscuring the slab’s natural characteristic. To get your desired color scheme, add any two colors of pigment powder. This first layer of pigmented epoxy will secure the slab in its place as soon as it starts to cure. As such, you won’t need to screw or clamp the slab to the mold.
6. Pouring First Layer of Epoxy

Clear Cast 50 – Add 42% catalyst to the base, with 2tsp of color pigments to the mixture, and mix the epoxy resin for at least 5 minutes. Once you are finished mixing the epoxy resin, let the mixture rest for 5-10 minutes. Let the air bubbles rise to the surface.
Now pour the epoxy into the mold’s channel and let it rest for 10-15 minutes. Next, you will need a propane torch to apply heat approximately 6 inches above the surface. This is done to release air bubbles. After torching, you can now experiment with your patterns by swirling the epoxy using a mixing stick. Make sure to repeat this process until the epoxy starts to gel.
You need to ensure that epoxy achieves a syrup-like consistency. Once you’ve accomplished that, proceed to heat the surface one final time before covering your tabletop to protect it from dust.
7. Pouring more Epoxy over the First Layer

Once your base layer has been set for approximately 12 hours, proceed to the next step, which is pouring epoxy over the first layer. Make sure you’ve measured to river channel’s dimensions to understand how much epoxy you need to pour. Allow the layer to cure for 24 hours.
8. Disassemble the Mold
Once cured, use your power drill to remove screws from all sides of the form. Tap the inside edge of your mold to loosen up its edges. Remove the base of the table once all sides are removed. You can separate the base from the table by using a wedge to slightly tap onto the handle. Continue doing this until all sides of the table are completely detached from the mold.
9. Sanding the River Table

Once you’ve sanded the river table, you need to sand all sides of the detached table. Make sure you are thorough when sanding both the surface and edges of the table. You can sand using an orbital sander. Next, wipe the surface with a clean rag and alcohol after sanding. You can use an air compressor to blow away any dust particles that may have stayed on the table.
10. Apply the Final Coat
Again, measure the dimension of your table’s surface to know how much epoxy you’ll need for the final coat. Once calculated, add 42% catalyst to the base and mix Clear Cast 50. Start mixing using a mixing stick for 5 minutes. Let the epoxy rest for 5 minutes after mixing. Wait for the air bubbles to rise to the surface of the mixture.
Once the epoxy has set, pour it all on the surface and spread evenly to all edges using a plastic spreader or trowel. Allow the epoxy to level itself out after it has been spread onto the surface. Once this is achieved, use a propane torch on the surface to release air bubbles. For the first 30 minutes of the epoxy setting in, apply heat every 10 minutes.
11. Let the Epoxy Cure

Once the surface bubbles on the table have been eliminated, proceed to cover your piece with cardboard to prevent any dust from settling on it. Make sure the cardboard isn’t touching the surface while the table is curing. The epoxy will cure within 12 hours and the epoxy river resin table will be ready to use after 7 days.
Make sure you do not place any objects on the table until these 7 days have fully passed. You do not want your hard work to be blighted by ugly scratches or ring mark stains. Attach a base to the table after 7 days.
Congratulations! You’ve Just Made your Epoxy River Resin Table.
Check out our video:
