How Door and Window Manufacturers can Create a Stained Glass Look with Resin
Stained glass designs are a thing of unique artistic beauty. They are pervasive across a plethora of ancient architecture, all across the globe, usually standing as visually arresting testaments to a time that once was. Many door and window manufacturing companies aim to replicate these phenomenal designs to provide their customers and clients with the designs they would like to see on their doors and windows.
Fortunately for fans of such designs, these endeavors are no longer exclusive to the whims of artists tasked with the renovation of famous tourist attractions. Thanks to paint products like resin infills, colour pigments and a wide variety of other decorative resin products at one’s disposal today, many modern door and window manufacturers too can also easily capture the look and aesthetic of stained glass designs for the sole purpose of decorating their own glass surfaces pertaining to doors and windows.
Today, door and window manufacturers can use such products over shower doors, glass windows, mirrors, and much more to bestow them with unique patterns, textures, and designs pertaining to an elegant stained glass look.
Now, achieving the perfect stained glass look is easier said than done. However, with the right paint products and guidance, we believe anybody can accomplish these tasks.
So in this article, not only will we walk you through all the necessary steps to help you create a stained glass, but also leave you with a few product recommendations from Creative Resins own gallery to make your painting process considerably more convenient.
So without much further ado, let’s jump right in by looking at the list of supplies you will need to get started with your job.
Mandatory Supply List
- Glass panel in the size you prefer.
- Design outline
- Creative Resins Clear Colour Base and Hardener
- Creative Resins Infill Pigments ( in colours and variants you prefer)
- Mixing Cups
- Stir sticks
- Gloves and glasses for safety (optional)
Step 1 – Choose a design
Choosing a design, pattern, or art for your glass is the obvious first step to achieving the stained glass look you desire. Now, you have the option of either drawing one yourself or opting for free design templates from online sources. This will totally depend on your preference. You can choose a design inspired by existing work, or do something of your own. Once decided, proceed to print out the design.
Step 2 – Create an Outline Using Wizard Illustrator
Once you have the printed outline, you now have to transfer this outline onto our glass. There are two ways to do this. Now, there is the more advanced and expensive way, wherein you can employ Creative Resins’ Wizard Illustrator that uses a computer-controlled resin dispensing system to create designs onto glass automatically without any manual effort whatsoever. This is Ideal when undertaking high-grade industrial projects.
Step 3 – Mix Acrylic and Epoxy Resins
As your outline dries, you can proceed to create the perfect blend of acrylic and epoxy solutions to create an infinite number of colour palettes in pursuit of designing your stained glass. Take a mixing cup and pour equal amounts of Creative Resins’ Clear Colour Base and Clear Colour Hardener and with assistance from stirring sticks, stir them for 2 minutes straight.
Step 4 – Add Resin and Colour Pigments
Once you have the perfect blend of acrylic and epoxy solutions, add your desired pigment colour or infill to the solution. Depending on your preference, you can choose from a variety of options, such as green, red, grey, black or gold, with regards to colour pigments to paint your glass with. Take small amounts of the pigment of your desire and slow stir it with the solution. Be deliberately slow while mixing to avoid bubbles. Add more resin to your solution until you have the desired colour and amount.
Step 5 – Start Application
Begin immediately once you have your mixture. Depending on your design, choose the area on the door or window surface you would like to fill first. If there are backgrounds in your design, prioritize them and slowly move to fill the innards of the outline. You will find bubbles forming on the surface once you start pouring the epoxy on your glass.
Create Impeccable Stained Glass Designs with Creative Resins
With a little bit of practice, you will find yourself creating a plethora of intricate and beautiful designs to make your glass surfaces on windows and doors look like absolute masterpieces. Rest Assured, Creative Resins has everything you will ever need to bring your stained glass projects the closure they need with resins.
Creative Resins is your one-stop shop for top-quality decorative resin ideal for windows and shower doors that give them a unique stained glass appearance to marvel at.
Our decorative resins are available in a wide range of colours to serve a range of creative purposes which include, simulating the look of lead or stained glass for windows, creating an outline on glass for decorative purposes, and giving a transparent, opaque, or translucent / texture finish to a stained glass.
Our high-end paint products give your glass surface the necessary colour and design to look unique and considerably more beautiful. The glass paint products we offer are heat resistant, waterproof, and UV stable. We offer a 10-year warranty on our products that further testifies to the formidable nature of paint solutions.
Special Effects? We have got you covered!
We offer a range of glass paint products for you decorative and architectural convenience. Our products include glass spray paints, liquid glass paint, acrylic glass paint, glitter glass paint, and glass paints for granite, mirror, crackle and web special effects to give a unique look to the glass in your area of choice.
The top quality adhesives we offer are guaranteed to not scratch, fade or delaminate due to their water and alkali resistant features. Our Heat proof and waterproof glass paints offer permanent protection to your glass from all kinds of harsh weathers.
Latest Articles
A range of 28 highly concentrated colour pigments that are all intermixable creating an infinite colour range to create any shade or tone of colour. Using our own ‘Colour Match’ software more than 15000 colours can be exactly formulated to match even the rarest of colours.
Latest Products
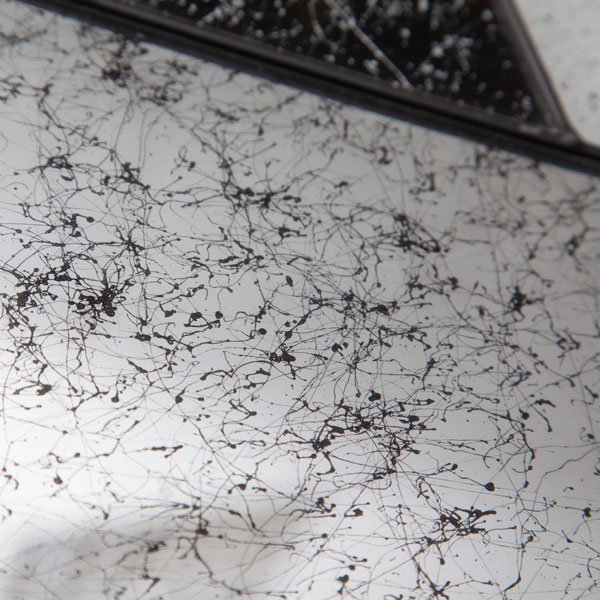
A special transparent resin sprayed onto the glass surface that creates a fine cobweb effect. Can be pre-mixed to any colour including Black, White, Gold, Silver and Copper. Bespoke colours also available.
Buy Now
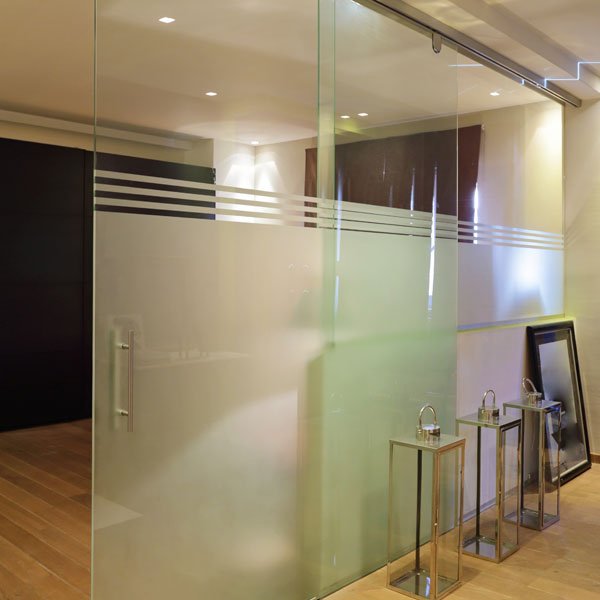
Add a little artistic twist to your glass painting endeavours with our frosted glass spray paint for unique decorative panache. Our frosted paint for glass provides you with an easy way to create an etching effect on your windows, glass door, skylights, greenhouses, shower doors or room dividers.
Buy Now
How to Remove Paint off Glass
An accidental splatter of paint can instantly ruin the look you had in mind for your glass. Even with the best preparation beforehand, I can still guarantee you every sprayer has been there.
What you really need to concern yourself with however, is how you are going to get the paint off the glass when you’re beyond the point of covering up the splatter. Glass paint removal is much easier than you might initially anticipate and there is a method available to ensure that stubborn paint comes off to give you a revived piece of glass, but be aware this is a messy process.
So, without much further ado, let’s get started!
You will require
- tissue paper
- blades
- trigger spray bottle
- gun cleaner
- glass cleaner
Firstly, pour your gun cleaner into the trigger spray bottle and start to apply heavily to small sections of the glass. Once you have done this, leave the solution for 20-30 seconds to antagonize the paint.
Now here is the step where you must be extra careful. You can use a single razor blade and position it at approximately 45 degrees from the glass panel. Any mishap with the angle and you are likely to scratch your glass so make sure the paint has softened before proceeding. Do not be overly aggressive, take your time!
Push the blade slowly against the paint and peel away, one stroke after another. Keep the motion of moving the blade consistent. Make sure to keep applying the gun cleaner and even soak a cloth with your liquid mixture if you find this helps.
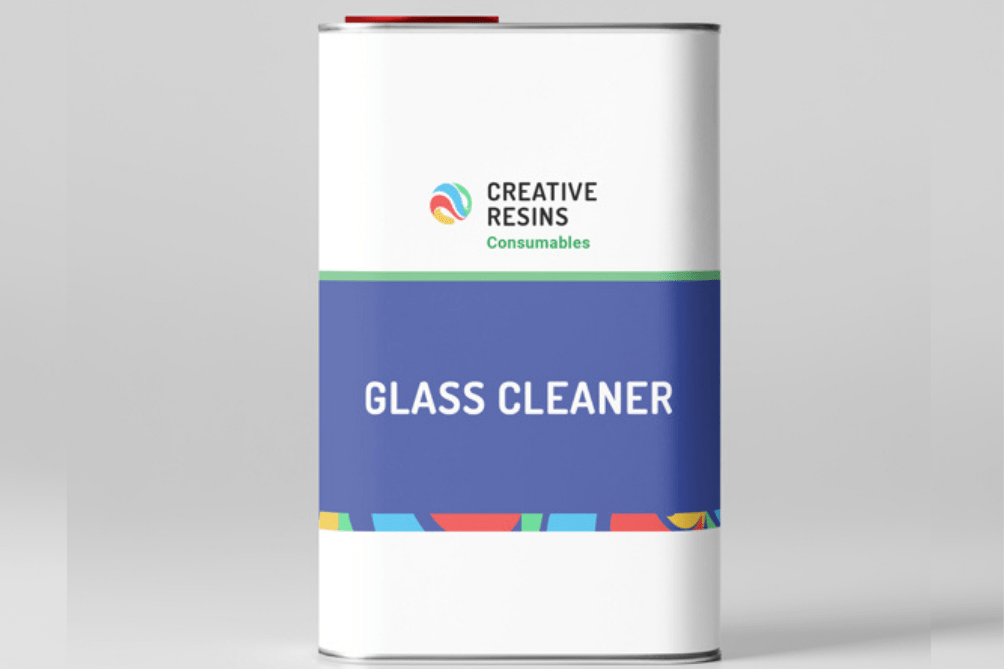
Once you have removed the bulk of the paint, use our glass cleaner to buff the glass. Pour the liquid heavily onto the glass and use your blue tissue roll to buffer back to its original condition. Use a clean blade for any leftover areas.
The Bottom Line
By following the above steps thoroughly, you will be able to remove any paint from your glass & also save yourself the additional cost of replacing it in the process. For top-quality products related to glass paints, you can visit the Creative Resins catalog now and choose some of the best paint for glass available on the market today at unparalleled prices.


